5 Bombproof Tarp Shelter Configurations to Survive Severe Storms
Ditch heavy tents and master the art of the bushcraft tarp. Step-by-step knot setups, wind-shedding geometries, and stormproof rigging tips.
Mark Holloway, Master Woodsman
WildRoot Field Testing & Research Team
Freestanding tents are comfortable, but they are heavy, bulky, and structurally vulnerable to snapped fiberglass poles under sudden mountain squalls. In contrast, a rugged, square or rectangular heavy-duty bushcraft tarp, when rigged with proper tension knots, provides lighter, more versatile, and superior storm protection.
In bushcraft methodology, having reliable overhead shelter represents the 3rd fundamental pillar of The 10 C’s of Wilderness Survivability—preventing rapid convective hypothermia from chilling rain and howling wind.
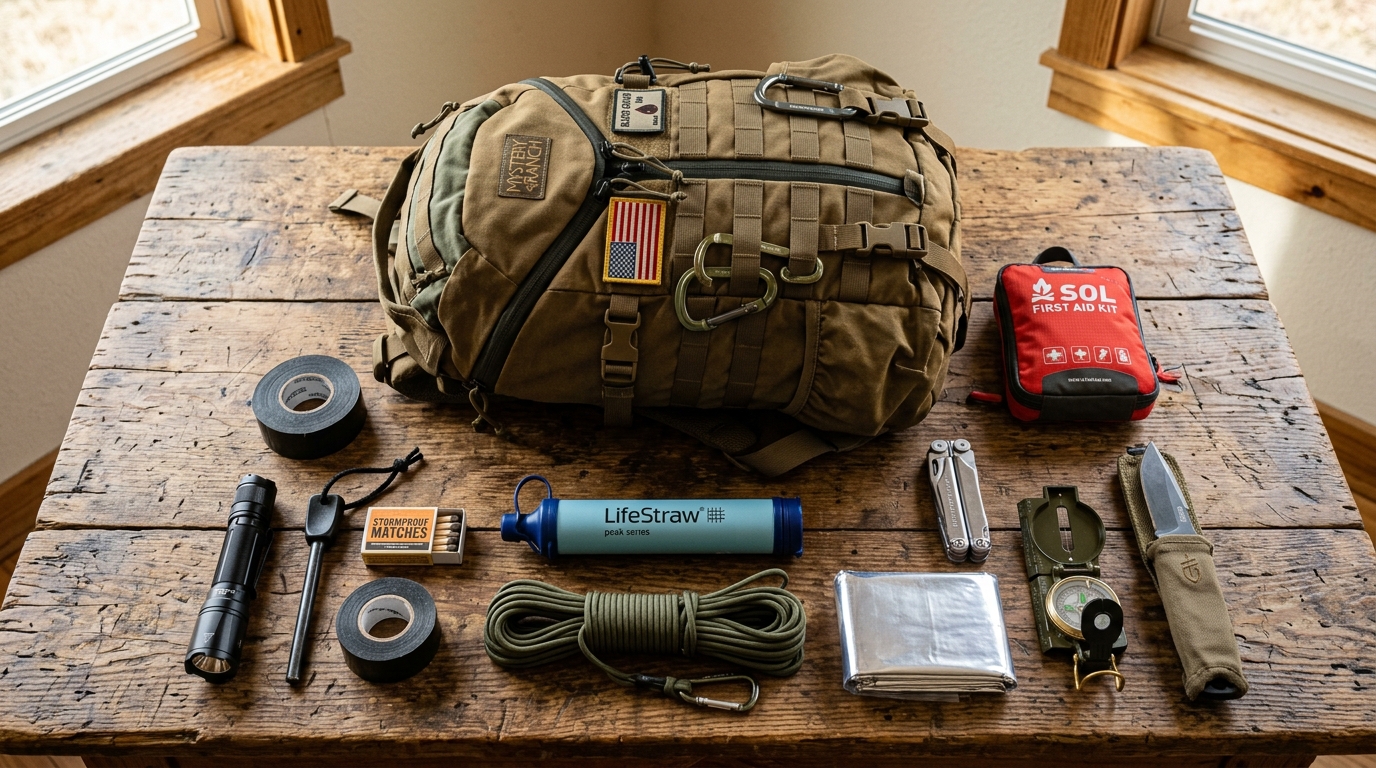
Whether you are packing an emergency rucksack (see our 72-Hour Bug Out Bag Essentials Guide) or spending a weekend practicing primitive skills, here are the 5 bombproof tarp configurations every backcountry enthusiast must master.
The Essential Knots You Must Know First
Before rigging your shelter, ensure you can tie these three foundational knots in pitch darkness with numb fingers:
- The Evenk (Siberian) Hitch: Rapidly anchors your main ridgeline to the first tree trunk and releases instantly with a single pull of the working end, even while wearing heavy winter mittens.
- The Taut-Line Hitch (or Farrimond Friction Hitch): An adjustable sliding knot on the opposing tree that tightens your 550 paracord ridgeline guitar-string taut.
- The Prusik Loop: Friction loops tied onto the ridgeline that slide freely when unloaded, but bite firmly to keep your tarp grommets stretched under heavy wind.
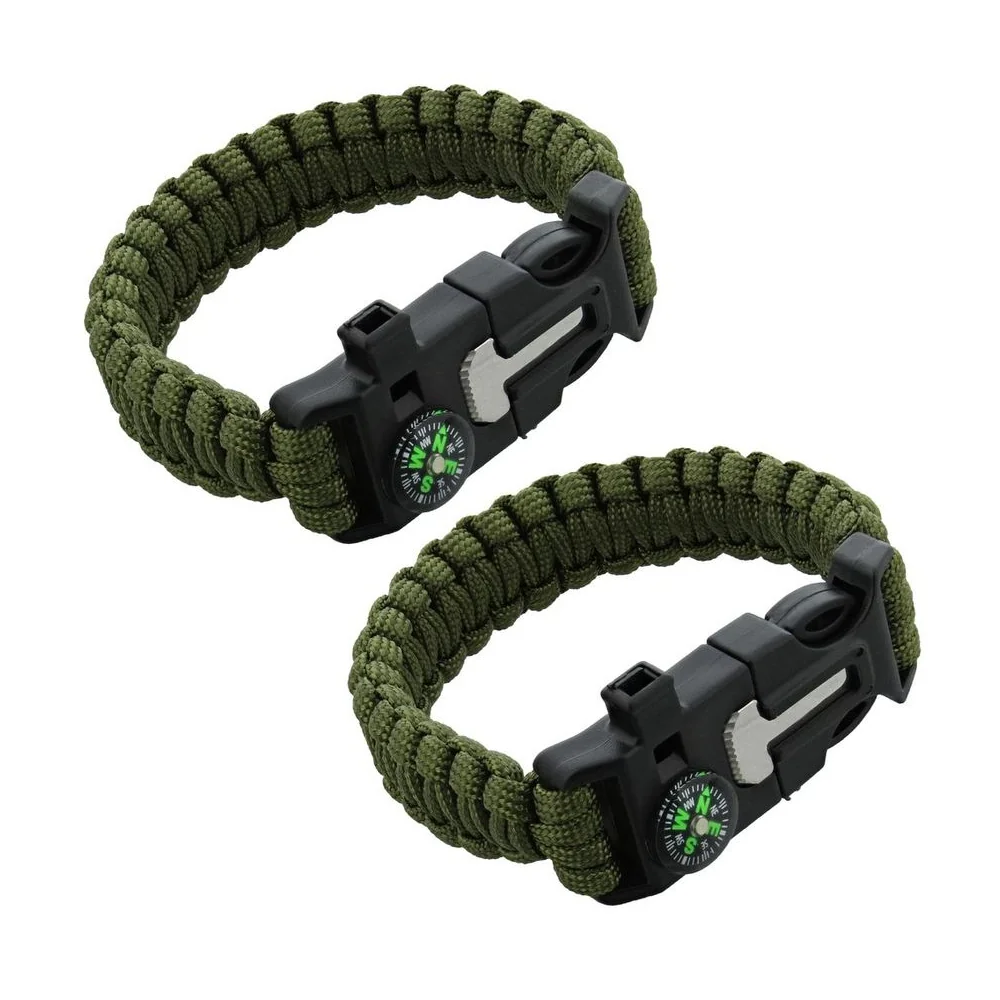
Field Tip: Always carry high-tensile cordage. The Field Tactical Survival Paracord Bracelet provides emergency 550 nylon cordage, a ferrocerium spark rod, and a signal whistle on your wrist. Use a razor-sharp Kegani High-Carbon Steel Bushcraft Knife to carve notched ground stakes on-site. (Learn how to select the right full-tang blade in our Bushcraft Survival Knife Guide).
1. The Classic A-Frame (Maximum Rain Shedding & Ventilation)
The undisputed gold standard for standard mountain rainfall and mild summer nights.
- The Rig: Suspend a paracord ridgeline between two sturdy trees at waist height (3.5 to 4 feet). Center the Heavy-Duty Black-Coated Bushcraft Survival Tarp over the line and peg down both sides at a 45-degree angle.
- Why It Excels: Steep dual-slope drainage sheds driving downpours instantly while open front and rear ends promote steady cross-ventilation, preventing interior condensation.
2. The Low-Profile Wedge / Flying Diamond (Severe Gale Winds)
When severe storm fronts roll in and gusts threaten to rip traditional tents apart, the wedge configuration acts like an aerodynamic bullet.
- The Rig: Tie one high corner to a tree trunk (approx. 4 feet high) and stake the exact opposite diagonal corner flat against the mineral soil directly into the prevailing wind direction. Peg down the remaining two lateral wings firmly.
- Why It Excels: The aerodynamic wedge forces howling winds to slide smoothly over your head while deflecting driving rain away from your bivy space.
3. The Adirondack Shelter (Reflective Campfire Warmth)
When overnight temperatures plunge near freezing and you need radiant heat, the Adirondack configuration transforms your camp into an outdoor hearth.
- The Rig: An asymmetrical lean-to with folded side triangle wings and a short front awning.
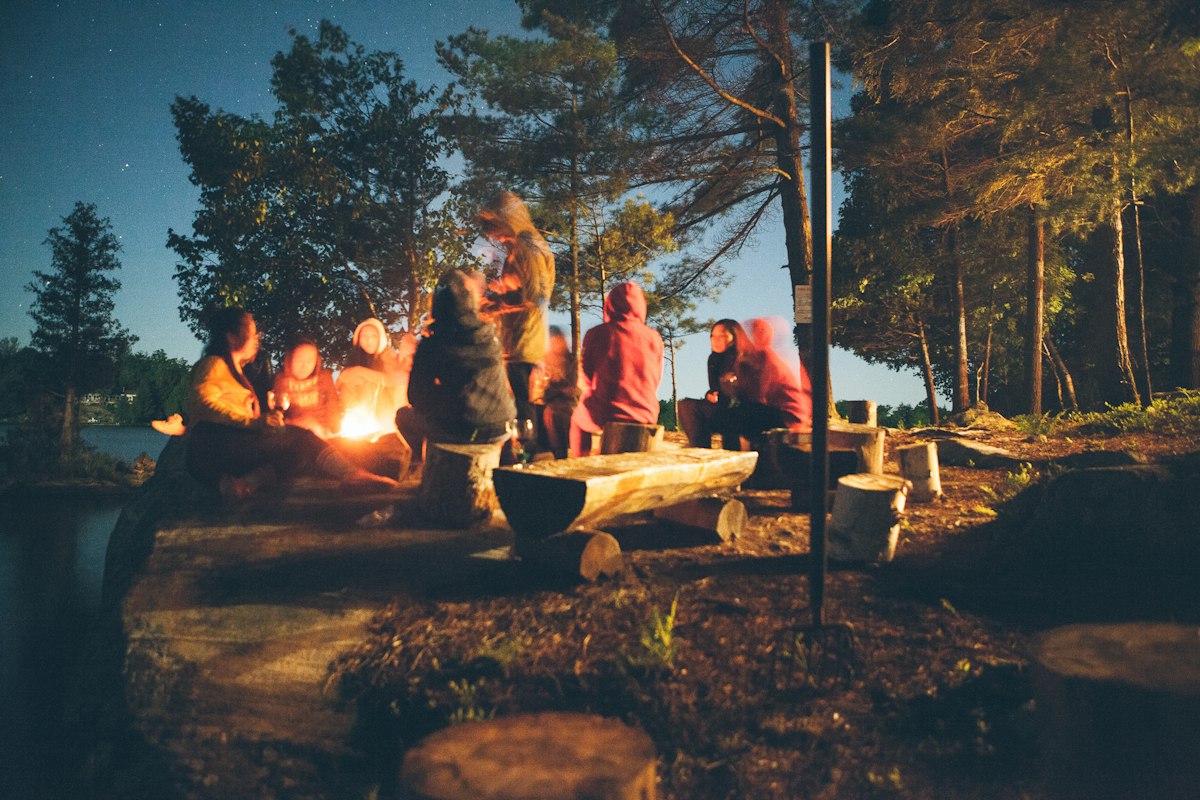
- Campfire Thermodynamics: Position a safe campfire 6 to 8 feet in front of the open shelter face. Build a stacked log reflector wall behind the flames. Thermal infrared rays reflect off the angled ceiling and down onto your sleeping pad. Ensure you strictly observe Backcountry Campfire Safety & Leave No Trace Principles to prevent sparks from melting your tarp.
4. The Plow Point (Instant 120-Second Emergency Bivy)
Caught in an unexpected thunderstorm above treeline? The Plow Point is the fastest survival shelter known to woodsmen.
- The Rig: Requires only one trekking pole or center tree and three ground stakes. Anchor one corner into the wind, elevate the opposing corner with your pole, and peg the two side corners tight.
- Why It Excels: Fully rigged in under two minutes, offering instant waterproof shelter before rain saturates your core insulation.
5. The Enclosed Diamond “C-Fly” (Full Blizzard Enclosure)
When wet ground slush and freezing wind threaten hypothermia, the C-Fly creates an integrated bathtub floor.
- The Rig: One-third of the tarp folds underneath your sleeping system as a waterproof ground cloth, while the remaining two-thirds loop over a low ridgeline to create an enclosed storm cocoon.
- Thermal Pairing: Slip inside an Emergency Thermal Mylar Bivy Sack inside the C-Fly to reflect up to 90% of your body’s radiant warmth and eliminate damp ground conduction.
Complete Your Field Survival Kit
A stormproof tarp shelter is only one element of backcountry safety. Make sure your pack is fully supplied with clean water purification tools—compare options in our guide: Straw vs. Pump vs. Gravity: Which Trail Water Filter Do You Actually Need?—and review the complete 10 C’s of Wilderness Survivability Checklist before your next trek.
Expert Wilderness & Field Gear FAQs
Clear, field-tested answers to the most common questions on backcountry readiness, survival gear, and equipment maintenance.
QWhich tarp shelter configuration is best for high winds?▼
QWhat size tarp is best for bushcraft and emergency survival?▼
QHow do tarp shelters fit into the 10 C's of survival?▼
QWhy use a bushcraft tarp instead of a traditional camping tent?▼
Wilderness Equipment Featured in this Guide
The rugged gear relied upon by our instructors. Pre-tested in North American forests and shipped fast from California & New Jersey.

Emergency Mylar Foil Thermal Bivy Sack / Insulated Sleeping Bag Cover
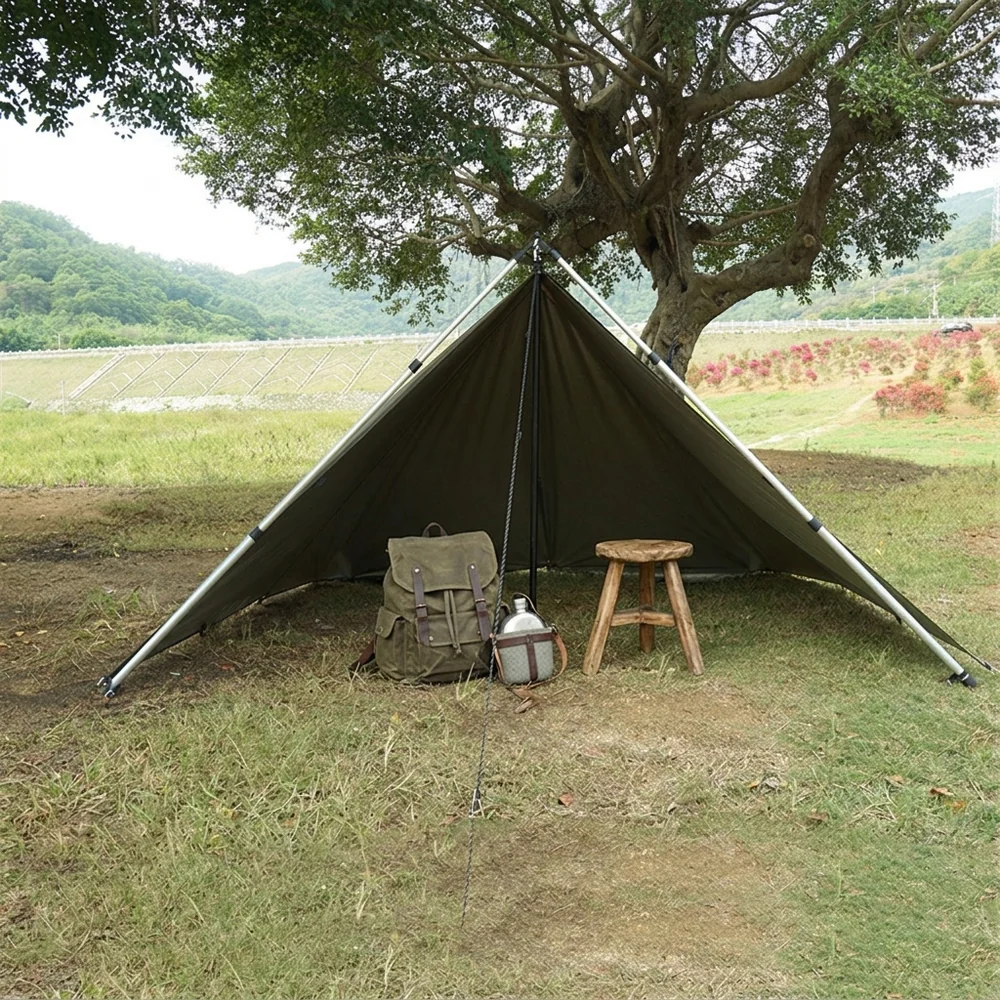
Heavy-Duty Black-Coated Bushcraft Survival Tarp Tent (PU3000mm)
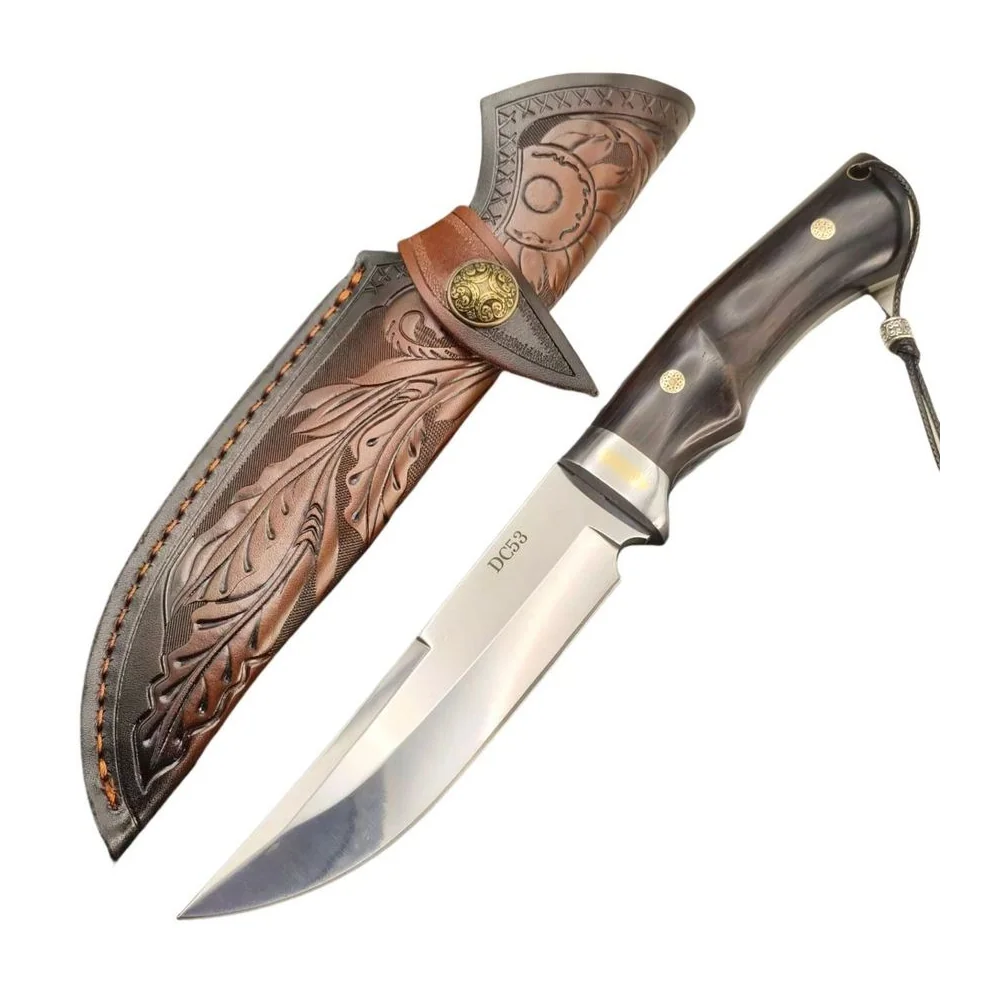
Kegani High-Carbon Steel Bushcraft Woodcraft & Camp Carver Tool with Leather Sheath